


As a versatile, accessible, and affordable way to brew coffee, the AeroPress has become especially popular in the specialty coffee community over the years.
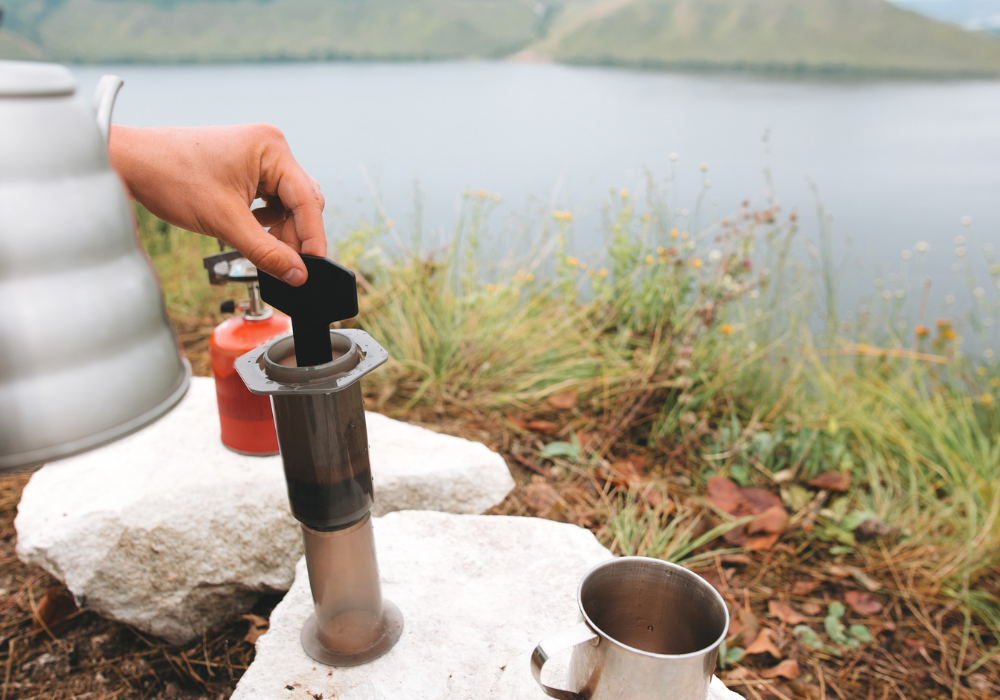
Compact, simple, and easy to set up, it’s a great way to brew a sweet, full-bodied cup of coffee both at home and on the road.
So, whether you’re a long-time user looking to tweak your recipe or entirely new to this method, read on to learn how to brew great coffee with your AeroPress.

Getting to know the AeroPress
The AeroPress was created back in 2005 by Alan Adler, an inventor and lecturer in mechanical engineering at Stanford University. Before the AeroPress, Adler also invented the Aerobie, a ring frisbee which has twice broken the Guinness World Record for “longest throw of an object without any velocity-aiding feature.”
Much like the French press, the AeroPress is an immersion brewing method. This means that the ground coffee is submerged in hot water and left to extract before being filtered out.
While the AeroPress was only invented a little over 15 years ago, it has quickly become a staple among both amateur and professional coffee brewers.
It also has its own associated world competition, the World AeroPress Championships (WAC). The WAC was launched in 2008 by Tim Varney and Tim Wendelboe in Oslo, with just three participants at the time.
Today, just 13 years on, WAC competitions are held in more than 65 countries, and have welcomed more than 3,000 competitors.

Brew guide & recipe
To help you brew an amazing cup of coffee with your AeroPress, we’ve put together a guide covering a few key areas.
Water temperature
Although there is a general consensus in specialty coffee that coffee should be brewed between 195 and 205°F, you can brew with the AeroPress at slightly lower temperatures.
A temperature closer to 175 to 185°F will give you mellower flavors in the cup, with less acidity and bitterness. However, if you want to bring out more acidity in your coffee, you can just bring that temperature up until you find a level that suits you.
Grind size
While a medium-fine grind is generally recommended for the AeroPress, you have a little more freedom with your extraction because it is an immersion method.
This makes your brew time easier to control, giving you the opportunity to counteract a grind size that might not be totally perfect.
If you suspect your grind is a little too coarse, brew for longer. For too fine a grind, try a shorter brew. Experiment with these two factors until you find a flavor profile that works for you.

Brew ratio
Your coffee-water brew ratio is incredibly important for any method – the AeroPress included.
While the exact ratio will vary based on the coffee you use and your personal preference, a coffee-water ratio of 1:16 or 1:17 is a good place to start. We recommend between 15g and 18g of coffee per person.
Choosing your coffee
The AeroPress is a versatile brewing method, so there’s no single “right” answer when it comes to which coffee to use. We recommend experimenting with a range of origins and roast profiles to find a flavor that works for you.
For a bolder taste and a more pronounced body, go for a medium to dark roast; we recommend our Organic Typhoon.
Conversely, if you’re after a cleaner, brighter cup, choose a lighter roast. We recommend our Organic DR Congo Muungano single origin, which has a buttery mouthfeel with notes of almond and Meyer lemon.
Inverted or standard?
There are two main ways to brew coffee using an AeroPress. The first, the “standard” method, is the one outlined by the instructions shipped with the brewer.
The second has evolved over time among regular AeroPress users: the “inverted” or upside-down method. This allows you to immerse the coffee for longer, giving you more control over your brew time and a cup profile that is often bolder.
We’ve outlined guides for both methods below.

Standard method
- Slip a paper filter into the filter cap and place this end over a cup or another vessel. You may need to hold it in place with one hand.
- Rinse your coffee filter with hot water. This gets rid of the residual paper taste of the filter and warms your cup.
- Attach the filter cap to the AeroPress, and place the brewer on top of your vessel of choice. For better precision, we recommend placing this setup on a digital scale.
- Add freshly ground coffee to the chamber (amount determined by your recipe) and give it a shake to evenly distribute the grounds. Tare your scale.
- Start your timer and slowly pour water into the chamber, making sure all the coffee is covered.
- Stir the coffee with a spoon or the AeroPress stirrer.
- When you are ready, remove the setup and your vessel from the scale and set the plunger in place.
- Plunge down with your open palm on top of the plunger. Use the other hand to keep the brewer steady.
- Enjoy.

Inverted method
- Repeat step 1 and 2 from the standard method.
- Assemble your AeroPress by inserting the plunger seal into the top of the Aeropress chamber, about half an inch below the rim of the chamber. Don’t plunge yet.
- Invert your AeroPress, so the plunger is on the bottom and the chamber on top. Set the brewer on your scales.
- Add your coffee, making sure you don’t spill any grounds into the ring-shaped gutter at the top. Tare your scale.
- Start your timer. Slowly pour water into the chamber, making sure all the coffee is covered.
- Stir.
- Attach the filter cap. Make sure it is properly screwed in.
- When ready, flip the AeroPress onto your cup or serving vessel and plunge.
- Enjoy.
So, there you have it: a brew guide and recipe for your AeroPress.
Just like with other brewing methods, making coffee with an AeroPress is all about experimenting. Try out different ratios, grind sizes, and origins and keep tweaking your recipe until you end up with a cup that’s perfect for you.
If you don’t have an AeroPress yet, you can buy one from our web store here!
All images courtesy of Canva.com